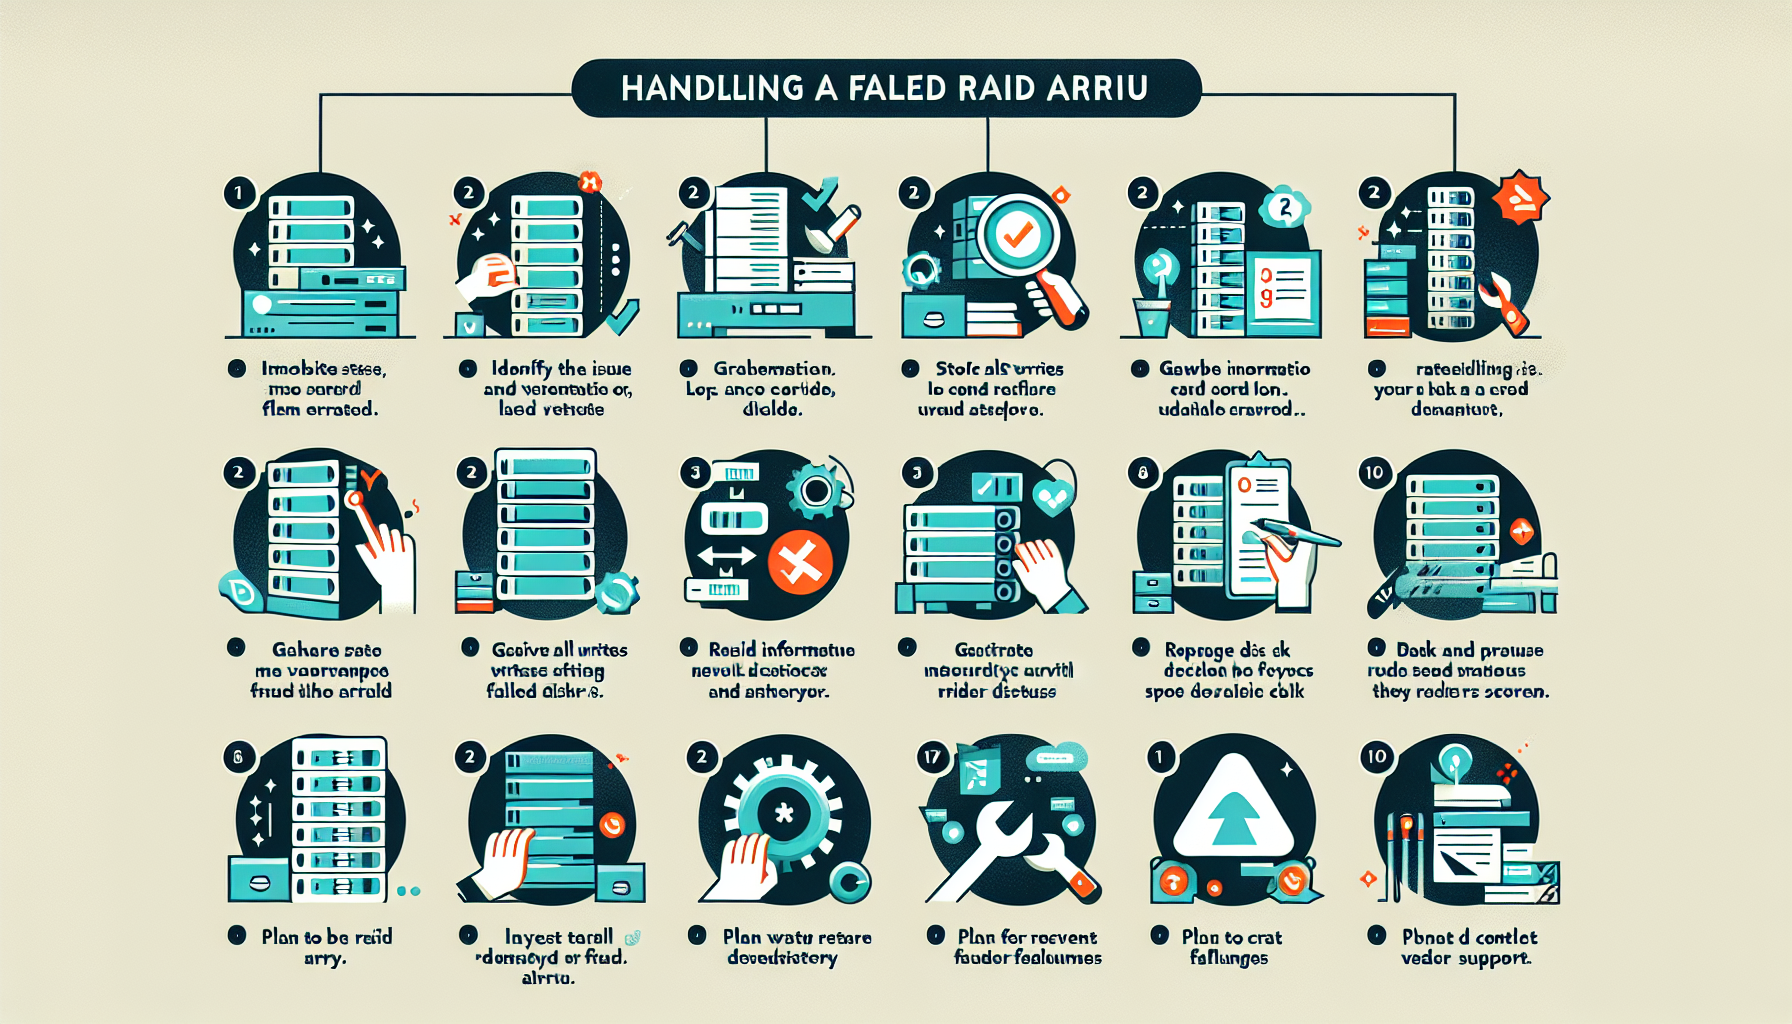
Handling a failed RAID array requires careful troubleshooting and execution to minimize data loss and downtime. Below is a step-by-step approach to dealing with a failed RAID array:
1. Identify the Issue
- Check System Alerts: Review system logs, monitoring tools, or RAID controller notifications to determine the nature of the failure.
- Determine RAID Type: Understand the RAID level in use (e.g., RAID 0, 1, 5, 10, etc.) since the recovery process depends on the level.
- Assess the Impact: Evaluate whether the failure affects redundancy, performance, or data availability.
2. Stop All Writes and Access
- If the RAID array is degraded or failed, stop all writes immediately to prevent further damage or corruption.
- Place the affected system into maintenance mode (if applicable) to prevent users or applications from accessing the array.
3. Gather Information
- Status of Disks: Check which disks have failed using the RAID controller or software.
- RAID Controller Logs: Review logs or notifications from the RAID controller or storage management software to understand the root cause.
- Disk Health: Use diagnostic tools like SMART data or vendor-specific utilities to analyze the health of the failed disks.
4. Replace Failed Disk(s)
- Hot-Swappable Disk: If the RAID configuration supports hot-swapping, replace the failed disk(s) while the system is running.
- Non-Hot-Swappable Disk: Power down the system, replace the failed disk(s), and restart.
- Use the same type, capacity, and speed of disk as the original to maintain RAID integrity.
5. Rebuild the Array
- Start the rebuild process using the RAID controller or management software. Depending on the RAID level, this process will restore redundancy and rebuild the data:
- RAID 1 (Mirroring): Data is copied to the new disk.
- RAID 5/6 (Parity): Parity data is recalculated and written to the new disk(s).
- Monitor the rebuild process closely, as it can take hours or longer depending on the array size and disk speed.
6. Validate Data Integrity
- Once the rebuild is complete, verify that all data is intact and accessible.
- Run filesystem checks and validate critical applications are functioning properly.
7. Investigate the Cause
- Disk Failure: Ensure the new disks are healthy and test the failed disks for confirmation.
- RAID Controller Issues: Check for firmware updates or hardware defects in the RAID controller.
- Environmental Factors: Confirm proper cooling, power supply stability, and vibration reduction to prevent further failures.
8. Backup and Preventative Measures
- Backup Data: Ensure you have updated backups of the restored data. RAID is not a backup solution; never rely solely on RAID for data protection.
- Monitoring: Enable proactive monitoring for RAID arrays to detect disk health issues before failures occur.
- Regular Testing: Perform regular disk and RAID health checks to identify early signs of degradation.
- Replace Aging Disks: Replace older disks before they fail based on manufacturer recommendations or SMART metrics.
9. Plan for Future Failures
- Consider implementing redundancy at a higher level (e.g., RAID 10 or replication across arrays/datacenters) if your current RAID level does not meet your organization’s resilience needs.
- Review disaster recovery plans and ensure they account for RAID array failures.
10. Contact Vendor Support (if necessary)
- If the RAID controller or array cannot be restored, contact the vendor or manufacturer for support. They may be able to provide advanced recovery tools or procedures.
Critical Notes
- RAID 0: If one disk fails, data loss is likely unrecoverable. Use backups for recovery.
- RAID 5/6: Multiple disk failures may render the array unrecoverable. Seek professional data recovery assistance if necessary.
- Do Not Reinitialize: Avoid reinitializing the RAID array unless you are certain all data is backed up or recovery is impossible.
By following this process, you can minimize downtime, reduce data loss, and restore the RAID array to operational status efficiently.
How do I handle a failed RAID array?


