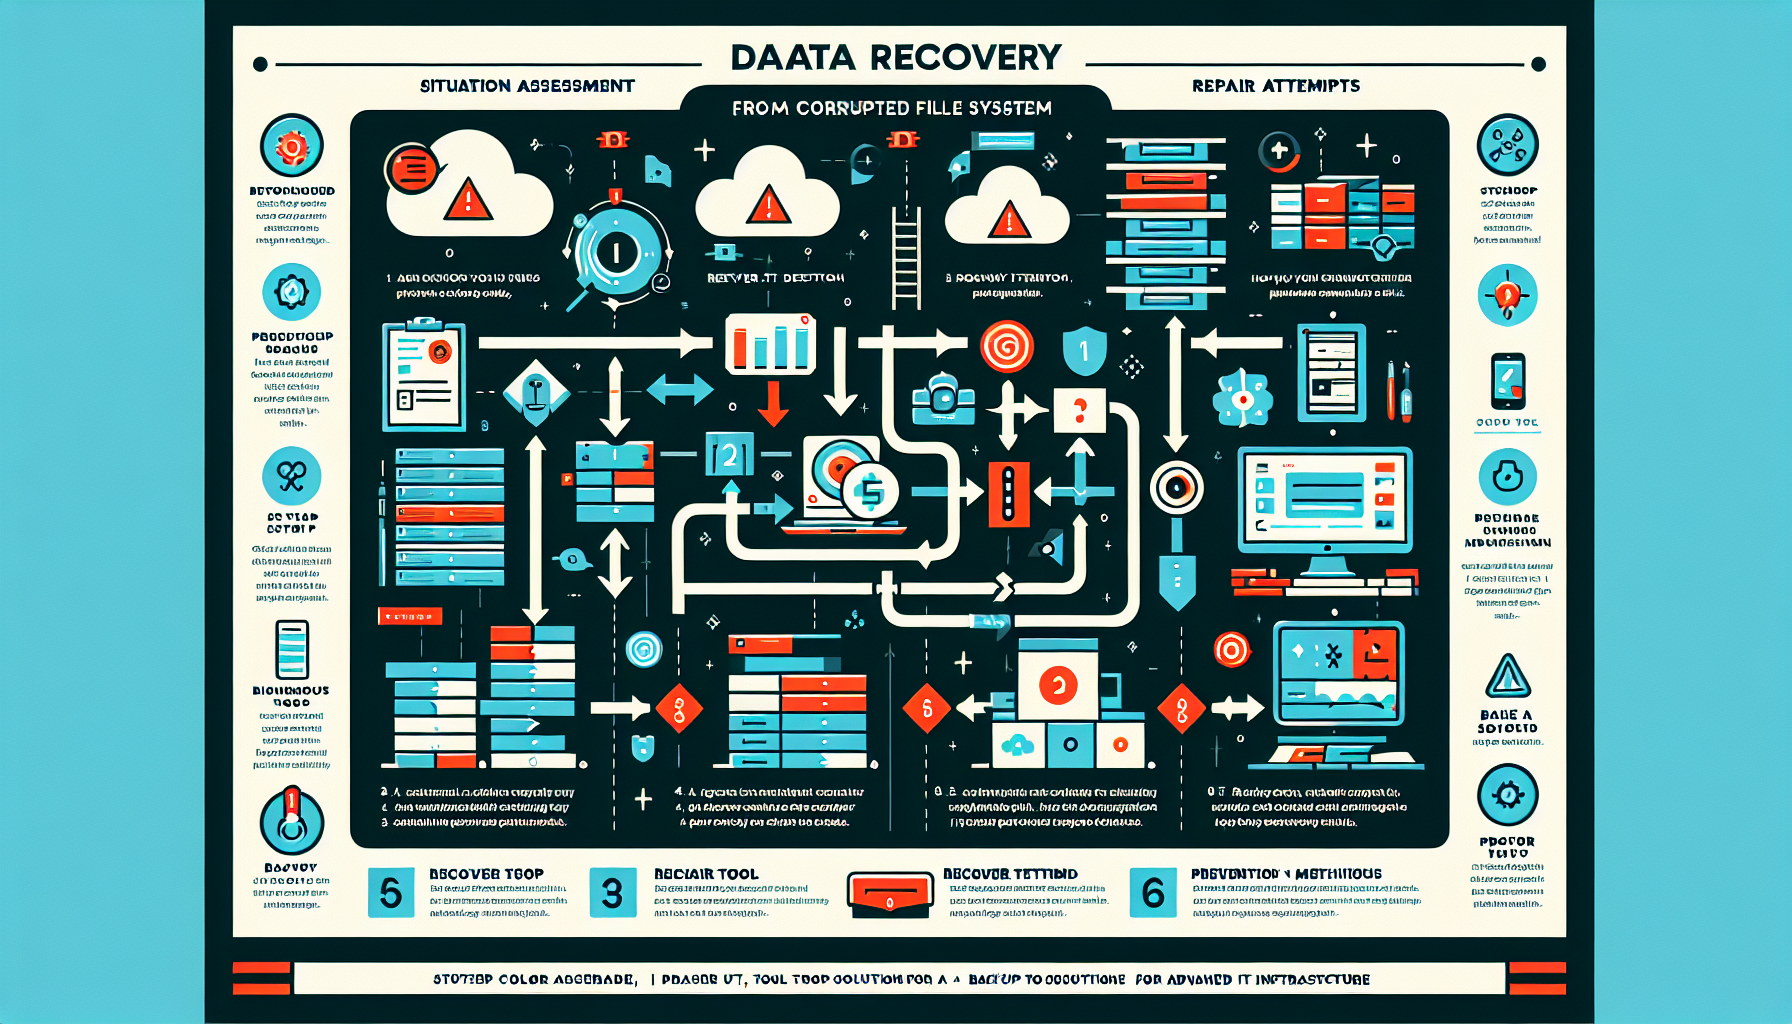
Recovering data from a corrupted file system is a delicate process that requires careful planning to avoid causing further damage. Below is a step-by-step guide to help you recover the data effectively:
Step 1: Assess the Situation
Identify the Symptoms: Understand the nature of the corruption. Are files missing, unreadable, or inaccessible? Is the entire file system unmountable?
Stop Writing to the Disk: Immediately stop using the affected disk to prevent overwriting potentially recoverable data.
Backup the Corrupted Disk: Create a bit-by-bit image of the corrupted disk using tools like dd or Clonezilla. This ensures you have a copy of the data before attempting recovery.
Step 2: Identify the File System Type
Knowing the file system type (e.g., NTFS, FAT32, ext4, XFS, ZFS, etc.) is critical for choosing the right recovery tools. Use the following commands to check the file system:
– Linux: lsblk -f or blkid
– Windows: diskpart → list volume
Step 3: Attempt File System Repair
If the corruption is minor, file system repair tools may resolve the issue without requiring full data recovery. Use the appropriate tool for your file system:
– Windows NTFS/FAT32: Run chkdsk /f /r in Command Prompt.
– Linux ext2/ext3/ext4: Use fsck (e.g., fsck /dev/sdX).
– XFS: Use xfs_repair.
– ZFS: Use zpool scrub or zpool status to check for errors.
– macOS HFS+/APFS: Use Disk Utility’s “First Aid” function.
⚠️ Note: File system repair tools can sometimes cause data loss. Use them only after creating a backup of the corrupted disk.
Step 4: Use Data Recovery Tools
If the file system repair fails or risks overwriting data, use specialized data recovery tools:
– Windows:
– Commercial: EaseUS Data Recovery, Stellar Data Recovery, R-Studio
– Free: Recuva, TestDisk
– Linux:
– Command-line: testdisk, photorec, extundelete, ddrescue
– GUI Tools: R-Linux, Disk Drill
– macOS: Disk Drill, Data Rescue
– VMware/Hyper-V: For virtual machine file recovery, tools like VMFS Recovery or native VMDK/VHDX recovery tools can help.
Step 5: Recover Data from the Backup
If you have a recent backup, restore the data from there. Utilize your organization’s backup solution (e.g., Veeam, Commvault, NetBackup, etc.) to recover files.
Step 6: Use Professional Recovery Services
If the corruption is severe (e.g., physical damage to the disk, RAID failure, or GPU/AI workloads with high I/O causing disk wear), consider consulting a professional data recovery service like Ontrack, DriveSavers, or Seagate Recovery Services.
Step 7: Rebuild or Reformat the File System
After recovering your data, rebuild the file system to ensure it’s functioning properly. Use disk formatting or reinitialization tools.
Linux: mkfs (e.g., mkfs.ext4 /dev/sdX)
Windows: Disk Management or format command.
Restore data from the backup or recovered files.
Step 8: Prevent Future Corruption
Monitor Storage Health: Use SMART tools (smartctl) or vendor-specific utilities to monitor disk health.
Implement RAID: Use RAID configurations (e.g., RAID 10) for redundancy and performance.
Regular Backups: Implement a robust backup strategy, including incremental and full backups.
File System Checks: Schedule periodic file system checks.
UPS Protection: Use an uninterruptible power supply to prevent power-related corruption.
Virtualization & Kubernetes: Ensure persistent volumes in Kubernetes or VMs are backed up properly.
By following these steps, you can maximize the chances of successfully recovering data from a corrupted file system while minimizing risks.
How do I recover data from a corrupted file system?