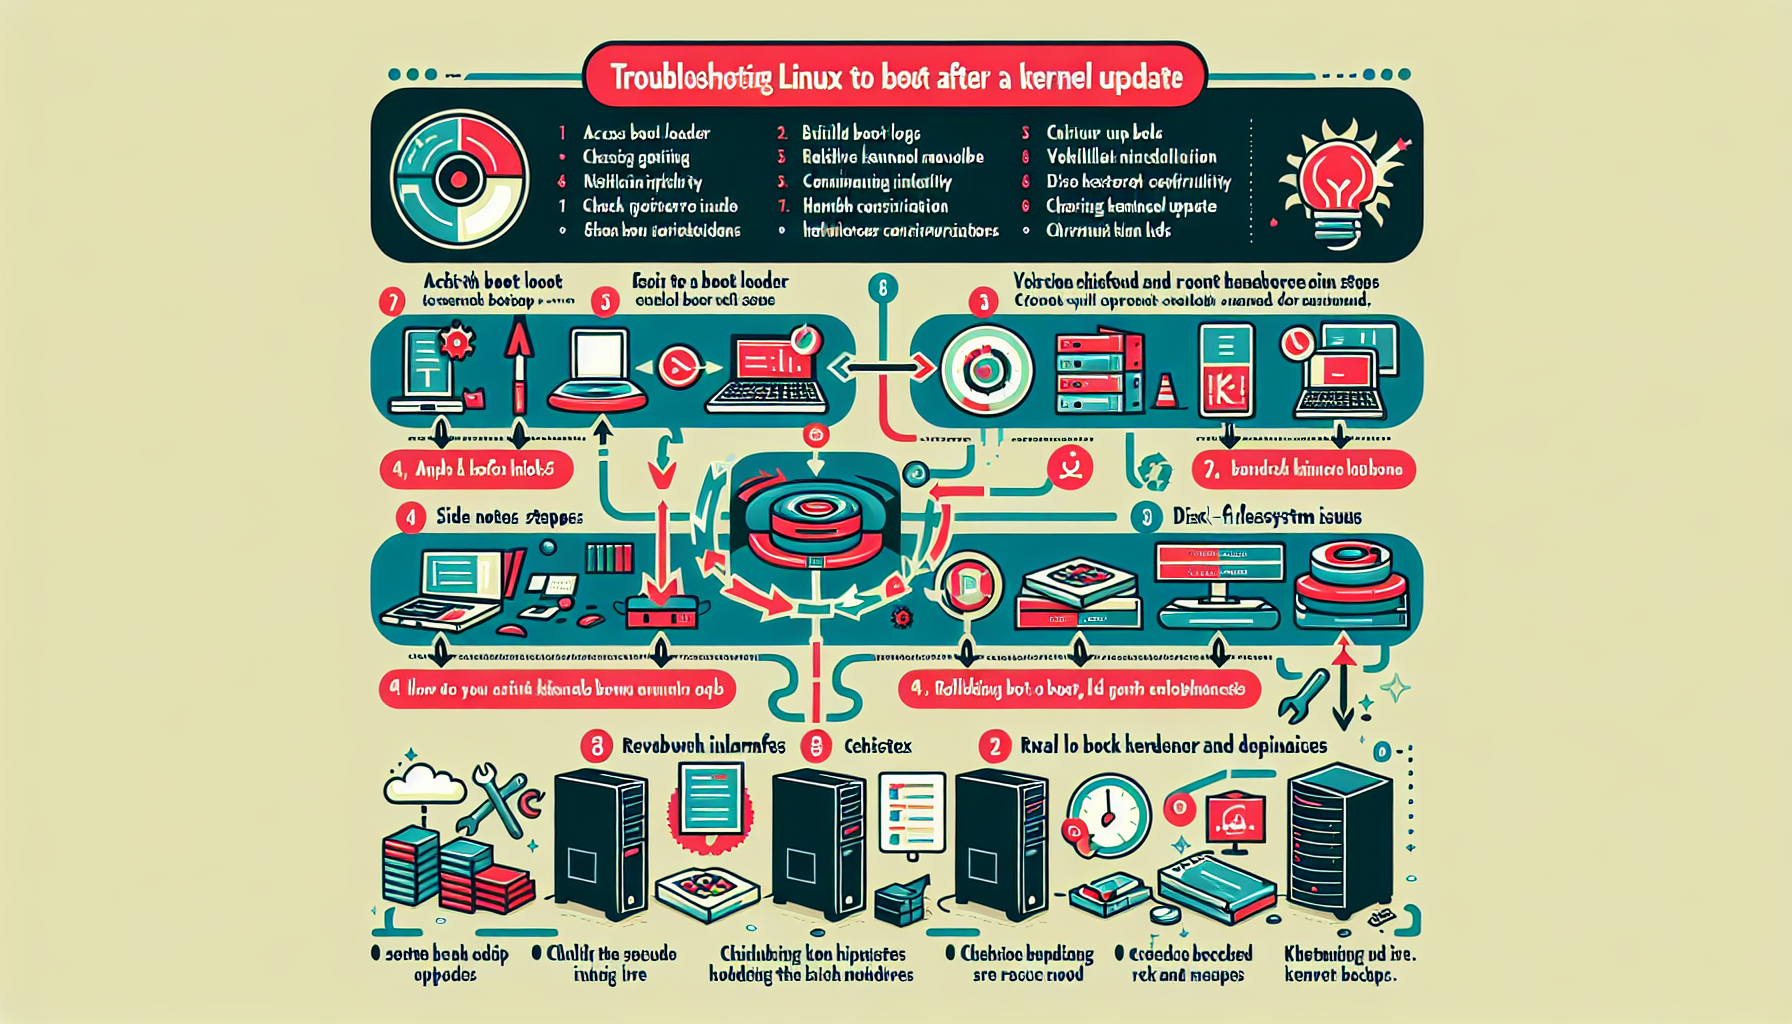
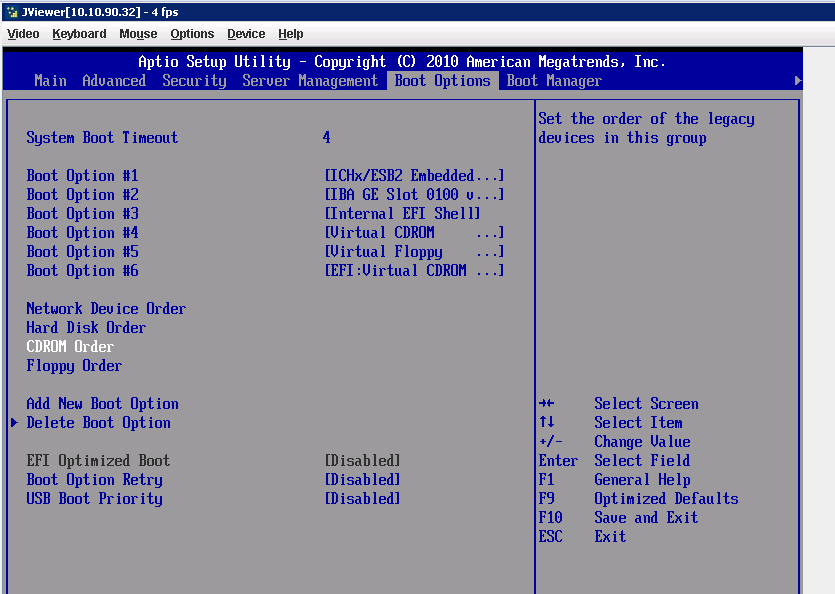
Troubleshooting Linux servers that fail to boot after a kernel update requires a systematic approach to identify and resolve the issue. Here’s how you can handle this situation:
1. Access the Boot Loader
- When the server boots, access the GRUB boot loader menu by pressing
Esc,Shift, orEsc+Shift, depending on your Linux distribution. - If GRUB is not visible, ensure the bootloader isn’t set to auto-boot without a menu.
2. Boot into an Older Kernel
- In the GRUB menu, select an older kernel version that was previously working.
- Highlight the older kernel and press Enter to boot the system.
- If the server boots successfully, the issue is likely with the new kernel.
3. Examine Boot Logs
- If the server boots into an older kernel, check the logs to identify why the new kernel failed:
bash

     journalctl -b -1
(This shows logs from the last boot attempt.) - Look for error messages or failures related to drivers, modules, or services.
4. Check for Kernel Module Issues
- Verify that all required kernel modules are loaded and compatible with the updated kernel:
bash

lsmod - Ensure critical drivers (e.g., storage, RAID controllers, network drivers) are compatible with the new kernel. Rebuild missing modules if needed:
bash

     dkms autoinstall
5. Rebuild the Initramfs
- Sometimes, the initial RAM filesystem (initramfs) may not have been generated properly during the kernel update. Rebuild it manually:
bash

update-initramfs -u -k <kernel_version> - Replace
<kernel_version>with the version of the problematic kernel. For example:
bash

     update-initramfs -u -k 5.15.0-101-generic
6. Verify GRUB Configuration
- Check if the GRUB configuration was updated correctly during the kernel update:
bash

sudo update-grub - Ensure the correct kernel is set as the default in
/etc/default/grub.
7. Inspect Disk and Filesystem Integrity
- A failed boot might result from disk or filesystem corruption:
- Boot into rescue mode or a live CD/USB.
- Run filesystem checks on critical partitions:
bash

fsck /dev/sdX - Replace
/dev/sdXwith the appropriate partition (e.g.,/dev/sda1).
8. Chroot into the System
- If the system won’t boot at all, use a live CD/USB to chroot into the installation:
bash

     mount /dev/sdX /mnt

     mount --bind /dev /mnt/dev

     mount --bind /proc /mnt/proc

     mount --bind /sys /mnt/sys

chroot /mnt - From there, troubleshoot the kernel update, rebuild GRUB, and repair the initramfs.
9. Check for Hardware Compatibility
- Ensure your hardware (e.g., RAID controllers, GPU cards, etc.) is supported by the new kernel.
- Check the vendor’s documentation for any driver updates or compatibility issues.
10. Roll Back the Kernel Update
- If you’re unable to resolve the issue, roll back to the previous working kernel:
bash

apt remove linux-image-<problematic_version>- Replace
<problematic_version>with the version of the failing kernel.
- Replace
- Alternatively, reinstall the older kernel:
bash

     apt install linux-image-<older_version>
11. Update Kernel and Dependencies
- Once the system is stable, update the kernel and its dependencies again to ensure all packages are in sync:
bash

     sudo apt update && sudo apt full-upgrade
12. Test Before Applying Updates
- In the future, test kernel updates in a staging environment before deploying them to production servers.
- Use tools like snapshots (LVM, ZFS) or virtualization checkpoints for quick rollback if needed.
13. Use Vendor Support if Necessary
- If the issue persists and you’re using a supported Linux distribution (e.g., RHEL, Ubuntu, SUSE), contact the vendor’s support team for assistance.
Preventive Measures
- Enable rescue mode or single-user mode in GRUB for troubleshooting.
- Use tools like Ksplice or KernelCare to apply live patches without rebooting.
- Implement a robust backup strategy for critical server configurations and data.
By following these steps, you should be able to identify and resolve issues with Linux servers failing to boot after a kernel update.

Ali YAZICI is a Senior IT Infrastructure Manager with 15+ years of enterprise experience. While a recognized expert in datacenter architecture, multi-cloud environments, storage, and advanced data protection and Commvault automation , his current focus is on next-generation datacenter technologies, including NVIDIA GPU architecture, high-performance server virtualization, and implementing AI-driven tools. He shares his practical, hands-on experience and combination of his personal field notes and “Expert-Driven AI.” he use AI tools as an assistant to structure drafts, which he then heavily edit, fact-check, and infuse with my own practical experience, original screenshots , and “in-the-trenches” insights that only a human expert can provide.
If you found this content valuable, [support this ad-free work with a coffee]. Connect with him on [LinkedIn].


