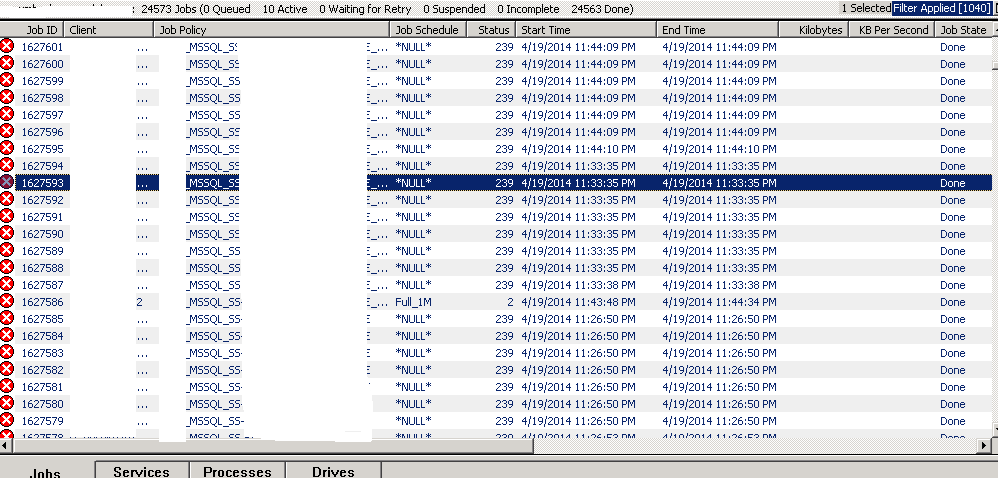
Commvault Simpana 10 SP11 güncellemesi sırasında MSSQL servisleri kapandıktan sonra açılmıyor ise ve Event viewer Application Loglarında aşağıdaki hataları görüyor iseniz:
* Initializing the FallBack certificate failed with error code: 15, state: 1, error number: 6000.
* TDSSNIClient initialization failed with error 0x80092004, status code 0x80. Reason: Unable to initialize SSL support. Cannot find object or property.
* TDSSNIClient initialization failed with error 0x80092004, status code 0x1. Reason: Initialization failed with an infrastructure error. Check for previous errors. Cannot find object or property.
* SQL Server could not spawn FRunCM thread. Check the SQL Server error log and the Windows event logs for information about possible related problems.
Çözüm:
https://support.microsoft.com/en-us/kb/316898 makalesindekileri uygulamak:
Install a certificate on a server with Microsoft Management Console (MMC)
To use SSL encryption, you must install a certificate on the server. Follow these steps to install the certificate by using the Microsoft Management Console (MMC) snap-in.
How to Configure the MMC Snap-in
- To open the Certificates snap-in, follow these steps:
- To open the MMC console, click Start, and then click Run. In the Run dialog box type: MMC
- On the Console menu, click Add/Remove Snap-in….
- Click Add, and then click Certificates. Click Add again.
- You are prompted to open the snap-in for the current user account, the service account, or for the computer account. Select the Computer Account.
- Select Local computer, and then click Finish.
- Click Close in the Add Standalone Snap-in dialog box.
- Click OK in the Add/Remove Snap-in dialog box. Your installed certificates are located in the Certificates folder in the Personal container.
- Use the MMC snap-in to install the certificate on the server:
- Click to select the Personal folder in the left-hand pane.
- Right-click in the right-hand pane, point to All Tasks, and then click Request New Certificate….
- The Certificate Request Wizard dialog box opens. Click Next. Select Certificate type is “computer”.
- In the Friendly Name text box you can type a friendly name for the certificate or leave the text box blank, and then complete the wizard. After the wizard finishes, you will see the certificate in the folder with the fully qualified computer domain name.
- If you want to enable encryption for a specific client or clients, skip this step and proceed to the Enable encryption for a specific client section of this article.For SQL Server 2005 and later versions, to enable encryption at the server, open the SQL Server Configuration Manager and do the following:
- In SQL Server Configuration Manager, expand SQL Server Network Configuration, right-click Protocols for <server instance>, and then select Properties.
- On the Certificate tab, select the desired certificate from the Certificate drop-down menu, and then click OK.
- On the Flags tab, select Yes in the ForceEncryption box, and then click OK to close the dialog box.
- Restart the SQL Server service.

Ali YAZICI is a Senior IT Infrastructure Manager with 15+ years of enterprise experience. While a recognized expert in datacenter architecture, multi-cloud environments, storage, and advanced data protection and Commvault automation , his current focus is on next-generation datacenter technologies, including NVIDIA GPU architecture, high-performance server virtualization, and implementing AI-driven tools. He shares his practical, hands-on experience and combination of his personal field notes and “Expert-Driven AI.” he use AI tools as an assistant to structure drafts, which he then heavily edit, fact-check, and infuse with my own practical experience, original screenshots , and “in-the-trenches” insights that only a human expert can provide.
If you found this content valuable, [support this ad-free work with a coffee]. Connect with him on [LinkedIn].


One thought on “Commvault Simpana 10 SP11 güncellemesi sırasında çıkan hata çözümü”