In the vSphere Client, select your Tanzu Cluster nameand selectConfigure > Namespaces > Certificates.
In the Workload Platform MGT tile, click theActionsdrop-down menu and selectGenerate CSR.
Configure the CSR.
NOTE:
The value for the common name must be DNS name of your Vmware Tanzu cluster (As it can be seen picture below)
The other values can be changed. (your values)
Parameter
Action
Common name
DNS name of your Vmware Tanzu cluster (As it can be seen picture below)
Organization
Organizational Unit
Country
State/Province
Locality
Email Address
ClickNext.
ClickDownloadto save the certificate signing request file to the student desktop.
ClickCopyto copy the contents to the clipboard.
ClickFinish
Not: Common name is vspherek8s.vclass.local in this example.
TASK 2: OBTAIN A SIGNED CERTIFICATE
You provide a CSR to a certificate authority to download a signed certificate.
In the Microsoft Active Directory Certificate Services home page, clickRequest a Certificate.
ClickAdvanced certificate request.
Paste the copied contents of the CSR into theSaved Requesttext box.
In theCertificate Templatedrop-down menu, selectvSphere.
ClickSubmit.
SelectBase 64 encoded.
ClickDownload Certificate.
TASK 3: INSTALL THE CERTIFICATE AUTHORITY ROOT CERTIFICATE
You install the certificate authority root certificate into the vCenter Server trusted root store.
In the vSphere Client, selectMenu > Administration > Certificate Management.
ClickAddnext to Trusted Root Certificates.
In the Add Trusted Root Certificates dialog box, clickBrowse.
Browse to your root cer file (for example MSCA_Root.cerfile.)
ClickOpen.
ClickAdd.
A second entry is visible in the vSphere Client under Trusted Root Certificates.
TASK 4: REPLACE THE CONTROL PLANE MANAGEMENT CERTIFICATE
You install a new signed certificate for the vSphere with Tanzu control plane VMs.
In the vSphere Client, selectMenu > Hosts and Clusters.
Selectyour Vmware Tanzu Cluster
SelectConfigure > Namespaces > Certificates.
In the Workload Platform MGT tile, click theActionsdrop-down menu and selectReplace Certificate.
In the Replace Certificate window, clickUpload Certificate File.
In the Open window, browse to your downloaded cer file in TASK 2.
ClickOpen.
ClickReplace.
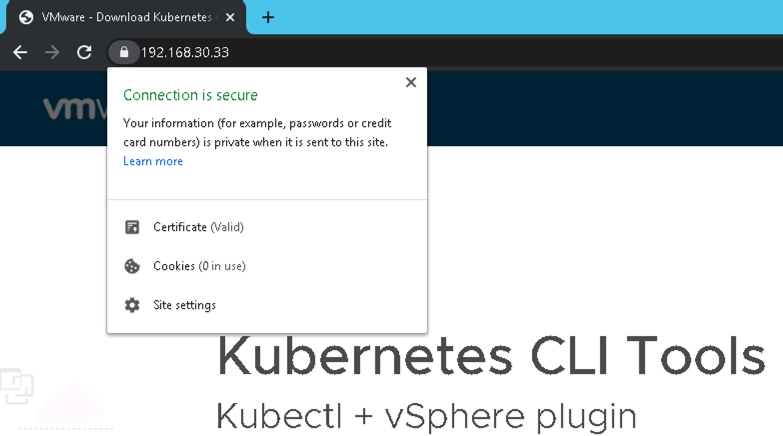
Open a new browser tab and go to your cluster IP address with https (for example https://192.168.30.33)
The vSphere with Tanzu control plane landing page opens.
Not: If you want you can login without replace certificate and if you get error “certificate signed by unknown authority”
you can login with –insecure-skip-tls-verify parameter.
Ali YAZICI is a Senior IT Infrastructure Manager with 15+ years of enterprise experience. While a recognized expert in datacenter architecture, multi-cloud environments, storage, and advanced data protection and Commvault automation , his current focus is on next-generation datacenter technologies, including NVIDIA GPU architecture, high-performance server virtualization, and implementing AI-driven tools. He shares his practical, hands-on experience and combination of his personal field notes and “Expert-Driven AI.” he use AI tools as an assistant to structure drafts, which he then heavily edit, fact-check, and infuse with my own practical experience, original screenshots , and “in-the-trenches” insights that only a human expert can provide.


?")

