Implementing Enterprise-Grade MLOps Infrastructure: A Step-by-Step Guide
MLOps is no longer a luxury—it’s a necessity for organizations looking to operationalize machine learning models at scale. In my experience managing AI deployments in enterprise environments, the difference between a successful MLOps rollout and a failed one often comes down to how the infrastructure is designed and automated from day one.
Below is a comprehensive, experience-backed guide on implementing MLOps infrastructure that is both scalable and production-ready.
1. Define Your MLOps Architecture
Before touching code, it’s critical to establish a reference architecture that includes:
Data Ingestion Layer (ETL pipelines, data lakes, streaming ingestion)
Feature Store (centralized repository for reusable ML features)
Model Training Environment (GPU/CPU clusters, Kubernetes, or cloud ML services)
Model Registry (version control for models)
CI/CD Pipeline (automated training, testing, and deployment)
Monitoring & Logging (prediction drift, resource usage, business KPIs)
Pro-tip: In production environments, I’ve found that separating training and inference infrastructure avoids resource contention and enables independent scaling.
[Architecture Diagram Placeholder: MLOps Infrastructure with Data Layer, Training Cluster, Model Registry, CI/CD, and Monitoring]
2. Step-by-Step MLOps Infrastructure Deployment
Step 1: Provision Compute & Storage
On-prem: Use VMware vSphere or OpenStack for virtualization; integrate GPU servers (NVIDIA A100, RTX 6000) for training workloads.
Cloud: Use managed Kubernetes services (EKS, GKE, AKS) with auto-scaling GPU node pools.
Storage: Implement high-throughput storage (Ceph, NetApp, or AWS S3) with versioned datasets.
In my experience, using NVMe SSDs for feature store caching drastically reduces training time in iterative experiments.
Step 2: Deploy Kubernetes for Orchestration
Kubernetes is the backbone for scaling ML workloads. Install and configure:
Separate Dev/Test/Prod Environments – Avoid testing experimental models in production clusters.
GPU Quotas in Kubernetes – Prevent rogue jobs from consuming all GPUs.
Immutable Model Artifacts – Store models with unique hashes; never overwrite files.
Infrastructure as Code (IaC) – Use Terraform or Ansible for repeatable deployments.
Automated Rollback – Always have rollback scripts for failed deployments.
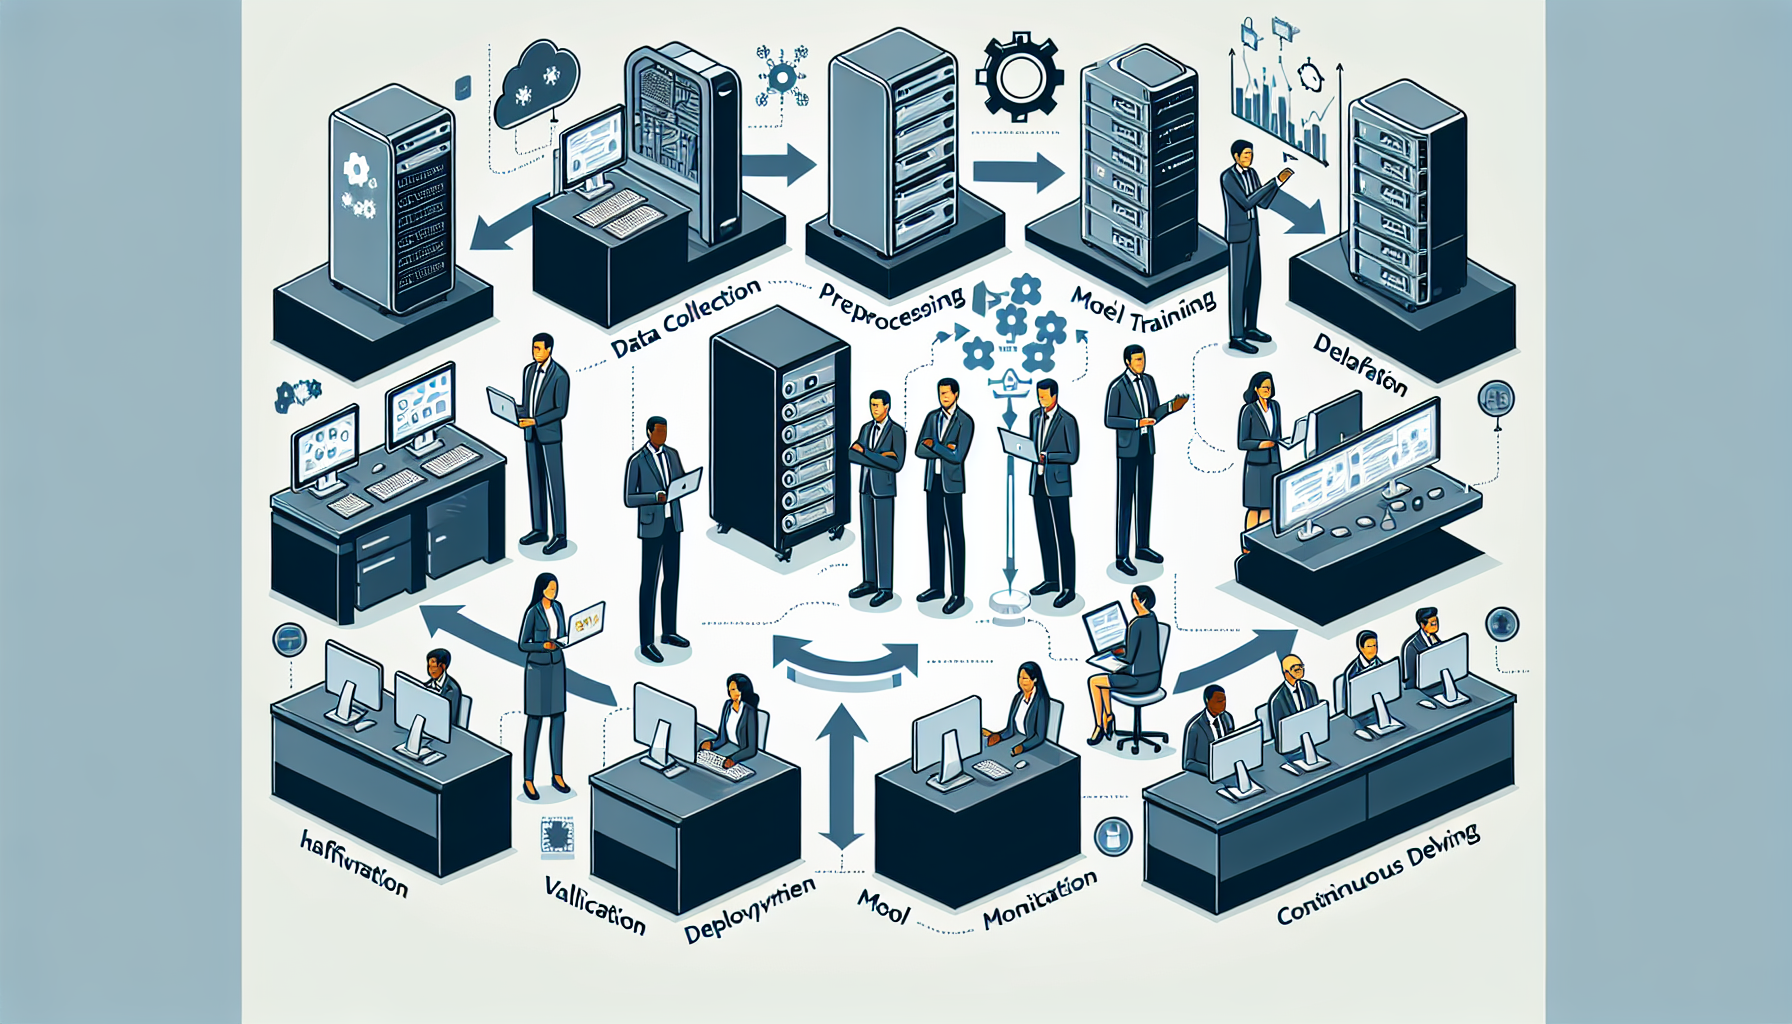
4. Example MLOps Deployment Workflow
[Workflow Diagram Placeholder: Data ingestion → Feature store → Training pipeline → Model registry → CI/CD → Inference service → Monitoring]
Conclusion
Implementing MLOps infrastructure requires more than just tools—it’s about designing for scale, automation, and reproducibility. In my experience, organizations that invest in a robust MLOps foundation see faster deployment cycles, fewer production incidents, and higher model ROI.
By following this step-by-step guide, you can build a production-ready MLOps infrastructure capable of handling enterprise-level AI workloads.
Next Step: Deploy your training cluster with GPU auto-scaling and integrate model drift monitoring before onboarding your first production model. This will save countless troubleshooting hours down the line.
Ali YAZICI is a Senior IT Infrastructure Manager with 15+ years of enterprise experience. While a recognized expert in datacenter architecture, multi-cloud environments, storage, and advanced data protection and Commvault automation , his current focus is on next-generation datacenter technologies, including NVIDIA GPU architecture, high-performance server virtualization, and implementing AI-driven tools. He shares his practical, hands-on experience and combination of his personal field notes and “Expert-Driven AI.” he use AI tools as an assistant to structure drafts, which he then heavily edit, fact-check, and infuse with my own practical experience, original screenshots , and “in-the-trenches” insights that only a human expert can provide.